
For elevator and door installers and service technicians: how to install Contactless Access devices, then set them up and test them on site with the CA Utility app.
Request CA Utility Installation steps
Before you start
- Each device connects to one existing button: an elevator call button, a floor button in the car, or an accessible door opener. The existing button keeps working as normal.
- Power: 5 to 36 VDC. Up to 15 devices can share one supply, daisy-chained.
- Have the elevator control panel schematics and a multimeter, to find and check voltage and ground.
- Installation should be done by a qualified elevator or door technician.
Installation
Installing a device means mounting it and making four connections: the two relay wires, power (5 to 36 VDC) and ground. Installation should be done by a qualified elevator or door technician.
Mounting the device
Measure the car button panel and choose a suitable place for the device. Make sure the surface is free of oil and dust. Peel the protective plastic off the adhesive hook-and-loop pad and press the device firmly into place for 15 seconds.
Connections
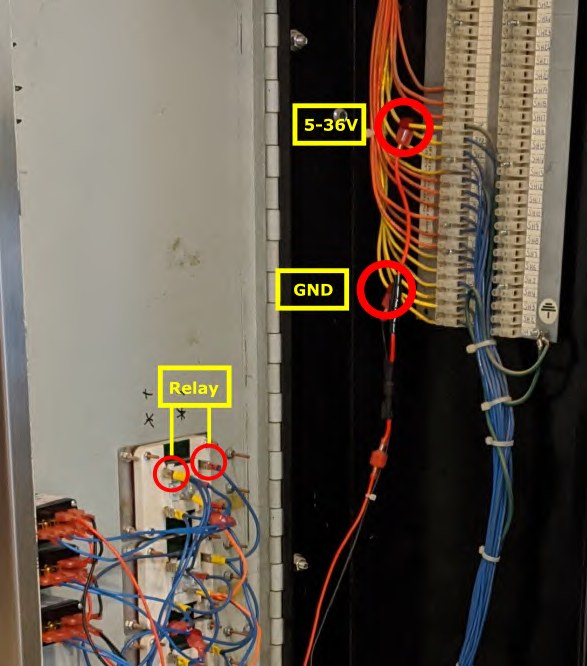
Use the elevator control panel schematics to find voltage and ground, and check both with a multimeter before you start. Use the Contactless Access power and relay connector wires provided. Connect them with the 18–22 AWG male disconnects and T-tap splices provided or, if there is room, into the car’s terminal block.
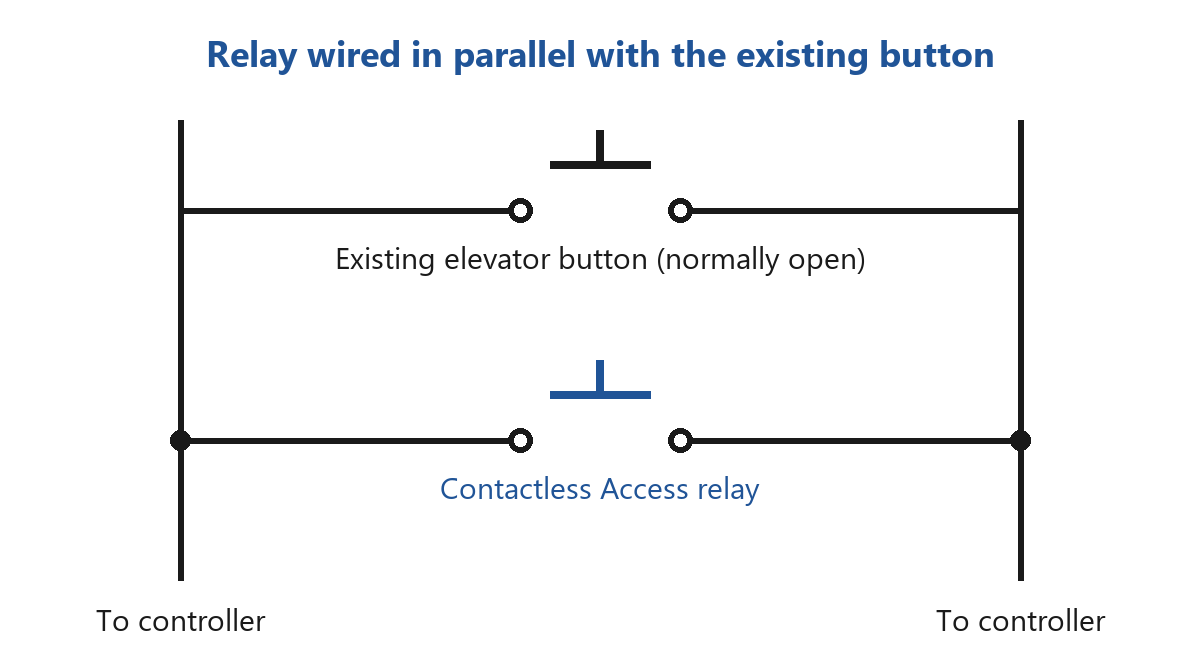
- Relay: connect the relay wires in parallel with the normally open contacts of the elevator’s push button.
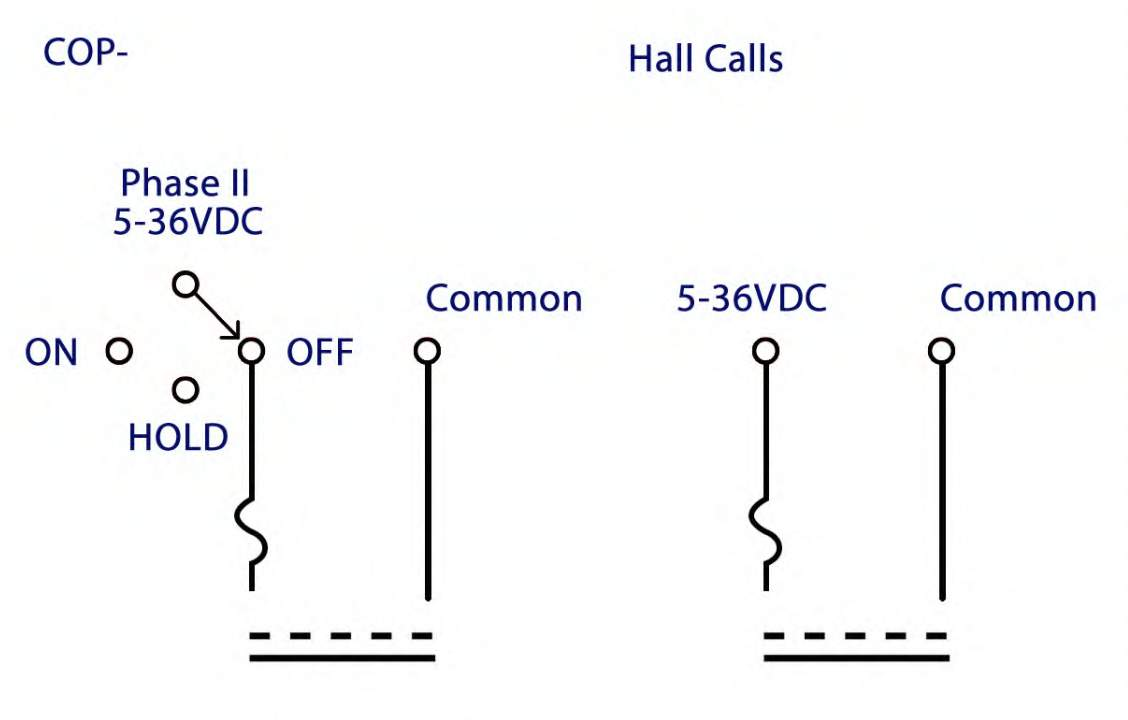
- Power: connect the red wire to a positive 5 to 36 VDC source and the black wire to its negative return. Plug the 2 ft (60 cm) power cable into the device.
- More devices: power the next devices with the plug-in daisy-chain cables, up to 15 devices on one supply.
Notes
- On the car operating panel (COP), fire service Phase II needs a relay that disconnects power to the Contactless Access devices.
- Up to 15 devices can be daisy-chained together.
Installation video
Set up and test with CA Utility
CA Utility is the installer app for Contactless Access devices, for Android phones. It has two parts: Installer and Field Testing.
Installer: an elevator group, step by step
CA Utility finds the site by GPS. You tell it the group’s cars and floors, then record each one where you stand:
- Stand inside each car and tap Capture. CA Utility listens for 10 seconds and lists the car’s buttons, so you can press them to confirm.
- At each floor, record its hall call buttons.
- In front of each door, record the door’s signal where you stand.
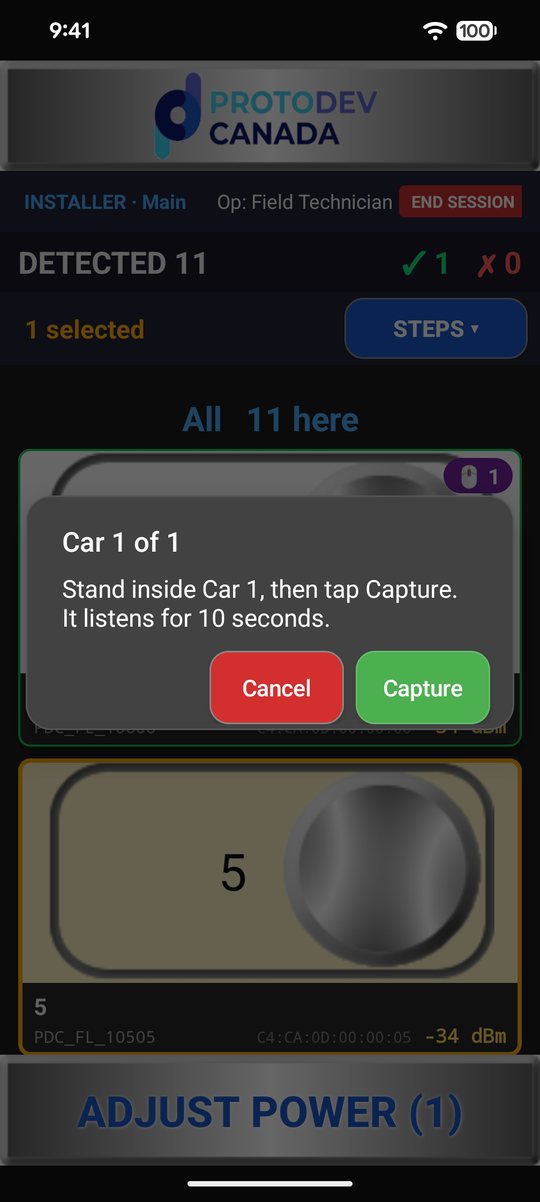
Stand inside the car and tap Capture.

Car 1: 7 floor buttons, 4 utilities.

Each floor’s hall calls.

Each door’s signal, where you stand.
Field Testing
- See every Contactless Access device nearby, with its signal strength.
- Test each device on site and mark it passed.
- Adjust a device’s power, so its Bluetooth range suits the spot.
- Read a device’s button clicks.
- Every result goes to Contactless Access, as the device’s service history.
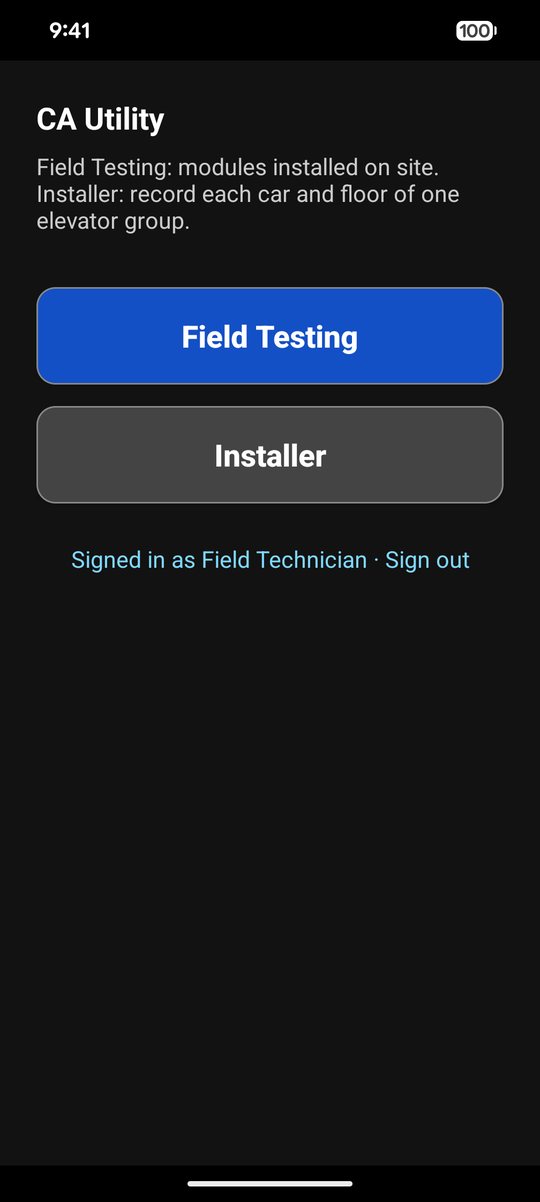
Start: Field Testing or Installer.
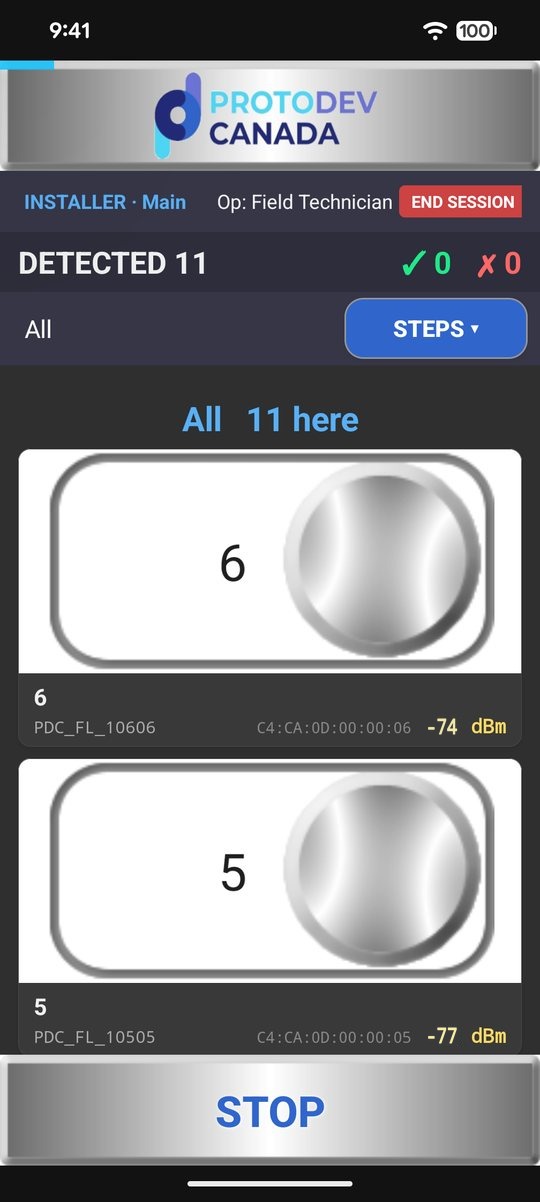
The devices nearby, with their signal.
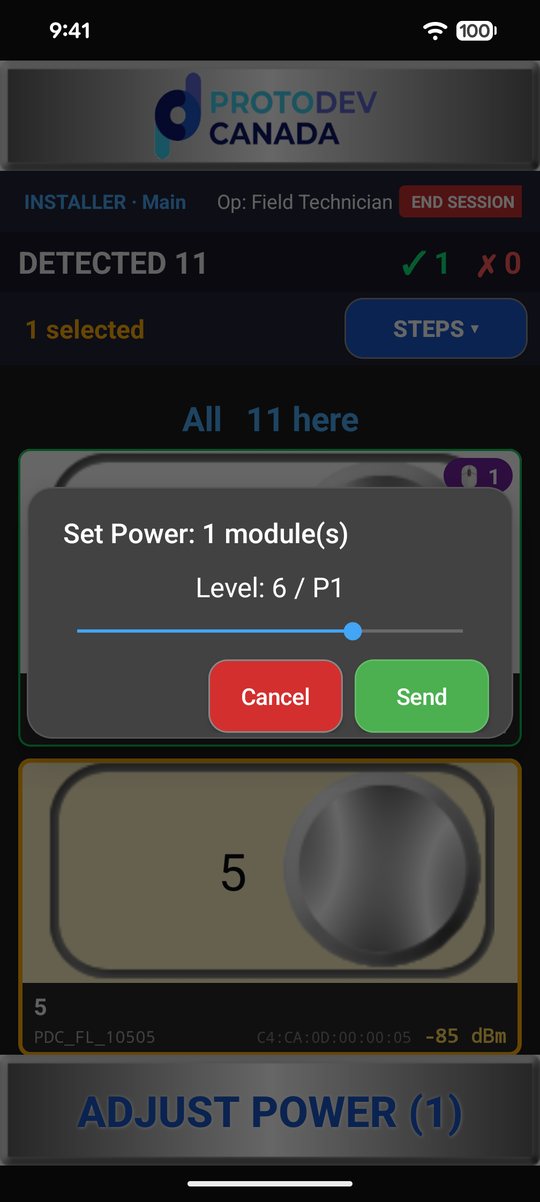
Adjust a device’s power.

Field Testing: passed.
Getting CA Utility
To use CA Utility you need two things, both set up by Contactless Access:
- The app: we add your Google account (Gmail) to CA Utility’s test list on Google Play and email you a link to join. Then you install it from Google Play.
- A sign-in: we make you an account with the access your work needs. You sign in with a code sent to your email.
How CA Utility handles your information: CA Utility privacy.
Documents
- Contactless Access Installation (PDF)
- User guide and installation manual (web page) and PDF
- Contactless Access Elevators (PDF) and Doors (PDF) product sheets
- Documentation and certifications
- The devices
Questions? Send us a message or call 1-844-301-9739.